How to Clean Memory Foam Mattress: The Complete Aussie Guide

Why Your Memory Foam Mattress Needs Special Care
Let’s be real about what’s happening on your mattress each night. While you’re sleeping soundly, your memory foam bed is quietly collecting a mix of dead skin cells, body oils, and sweat. This creates a perfect feast for dust mites, a situation made even worse by Australia’s often humid climate. Knowing how to clean a memory foam mattress is crucial because it demands a completely different method compared to its traditional spring-filled cousins. The very feature that makes memory foam so comfortable—its dense, open-cell structure—also makes it uniquely fragile.
The Unique Challenge of Memory Foam
Unlike a spring mattress where air can move about, memory foam acts more like a high-tech sponge. It’s fantastic for moulding to your body but awful at dealing with too much moisture. The classic ‘soak and scrub’ approach you might use on a carpet is a disaster waiting to happen here. Using water or harsh chemical cleaners directly on the foam can cause serious problems:
- Structural Breakdown: Harsh chemicals can actually break down the viscoelastic polymers that give memory foam its famous slow-moving feel. This can make the foam brittle and ruin its supportive qualities.
- Permanent Moisture Trapping: Water that seeps deep into the foam’s tiny cells is incredibly difficult to get out. This trapped dampness becomes a breeding ground for mould and mildew, leading to musty smells and potential health risks.
- Warranty Voidance: Most mattress warranties will be voided if the manufacturer finds evidence of liquid damage or cleaning methods they don’t approve of.
I remember a client from humid Brisbane who tried to tackle a wine stain with a bucket of soapy water. While the stain on the surface looked a bit better, the moisture trapped inside led to a serious mould issue within a few weeks. They had to throw out an almost-new mattress. This is a perfect example of why a gentle, low-moisture cleaning technique is the only way to go.
To better understand the differences, let’s compare how you’d approach cleaning memory foam versus a traditional mattress.
| Mattress Type | Cleaning Frequency | Water Tolerance | Drying Time | Special Considerations |
|---|---|---|---|---|
| Memory Foam | Every 6 months | Very Low | 12-24 hours | Must avoid liquid saturation. Susceptible to chemical damage. |
| Traditional Spring | Every 6-12 months | Moderate | 6-12 hours | Can handle light steam cleaning. Air circulates more freely, aiding drying. |
This table shows that while both need regular cleaning, memory foam’s low tolerance for water and longer drying time mean you have to be much more careful.
The Invisible Accumulation
It’s not just the accidental spills you should be concerned about. The nightly build-up of biological stuff is quite significant. Considering Australians spend roughly a third of their lives in bed, this accumulation happens quicker than you might imagine. We shed between 30,000 to 40,000 skin cells every single minute, which means millions land in your mattress each night, creating a non-stop buffet for dust mites.
This is why experts recommend a deep clean at least twice a year to keep things hygienic. For a deeper dive into creating a healthy sleep space, you can explore insights on mattress cleaning from CHOICE.com.au. Consistent upkeep isn’t just about being clean; it’s about protecting your health and making sure your mattress lasts as long as it should.
Setting Yourself Up for Cleaning Success

Before you dive in and start scrubbing, taking a moment to prepare properly is the real secret to getting a great result when cleaning a memory foam mattress. A little bit of prep work not only makes the task feel less like a chore but also protects your mattress and bedroom from any accidental mishaps. It’s a bit like cooking a delicious meal—the mise en place is just as crucial as the cooking itself.
Your Essential Cleaning Toolkit
First things first, you’ll need to completely strip your bed. That means removing all pillows, sheets, doonas, and even the mattress protector. Now, here’s a detail many people overlook: if your mattress cover has a zipper, double-check the care tag to see if it’s actually designed to be removed and washed. Some are only meant for spot cleaning, and making that mistake could lead to a laundry disaster.
Once your mattress is bare, it’s time to assemble your cleaning kit. You don’t need a shelf full of harsh chemicals. In fact, some of the most effective items are probably already hiding in your pantry:
- A good vacuum cleaner with an upholstery attachment is your best friend for this job.
- Microfibre cloths are perfect for blotting up spills and applying your cleaning solutions.
- Baking soda is a brilliant natural deodoriser that also helps to draw out moisture.
- A mild, clear dish soap or laundry detergent can be used to whip up a gentle but effective cleaning solution.
- White vinegar is fantastic for tackling certain stains and neutralising odours.
- An empty spray bottle is ideal for applying your mixture as a fine, even mist.
This simple collection is what many professional cleaners use for routine jobs because it gets the work done without being aggressive on the delicate memory foam.
Creating the Perfect Cleaning Environment
Now, let’s set the scene in your bedroom. Good ventilation is an absolute must. Throw open all the windows and switch on a ceiling fan if you have one. This helps to create constant airflow, which is your number one defence against trapped moisture—the main culprit behind mould and mildew.
Choosing the right day to clean is also a smart move, especially here in Australia. Aim for a dry, sunny day if you can. Trying to get this done on a humid day in Sydney or a drizzly afternoon in Melbourne will seriously drag out the drying time. Be prepared to allow at least 8-12 hours for the whole process, from the first wipe-down to the moment it’s completely dry. Rushing this final step is the most common mistake people make, so patience is key.
Dealing With Fresh Disasters and Spills
We’ve all had that heart-sinking moment. You knock over a cup of coffee, or your pet has an accident on the bed. When a spill happens on a memory foam mattress, what you do in the next five minutes can make all the difference between a minor cleanup and a permanent, smelly stain. The absolute golden rule is to act fast, and never, ever scrub.
Your first instinct might be to scrub the life out of the stain, but that’s the worst thing you can do. Scrubbing a spill on memory foam just forces the liquid deeper into its delicate cell structure. This not only makes it a nightmare to dry but also creates the perfect damp, dark home for mould and mildew. Instead, your mantra should be blot, blot, and blot again. Grab a clean, dry microfibre cloth or a stack of paper towels and press down firmly. Keep swapping to a dry section or a new towel until you can’t pull any more moisture out. This simple blotting technique is your first and best line of defence.
Tailoring Your Attack to the Stain Type
Not all spills are the same, and your cleaning strategy needs to change depending on what you’re dealing with. A sugary soft drink stain needs a different game plan than a protein-based one like blood or urine.
For Liquid Spills (Coffee, Tea, Juice): Once you’ve blotted up as much as you can, mix a simple cleaning solution. A small amount of mild laundry detergent or dish soap mixed with two parts cool water in a spray bottle works wonders. Lightly mist the stained area – you want it damp, not soaking wet. Then, take a clean, damp cloth and gently blot from the outside edge of the stain towards the centre. This stops the stain from spreading outwards.
For Protein-Based Stains (Blood, Sweat, Urine): Stay away from hot water! Heat will essentially “cook” the proteins, setting the stain for good. Always use cold water for these types of messes. For really stubborn problems like urine, which contains uric acid crystals that leave behind a lingering smell, you might need something stronger. An enzyme cleaner is your best friend here, as it’s designed to break down the specific proteins in biological stains, eliminating both the mark and the odour. If you’re facing this common issue, our detailed guide on how to properly remove urine from a mattress can walk you through the entire process.
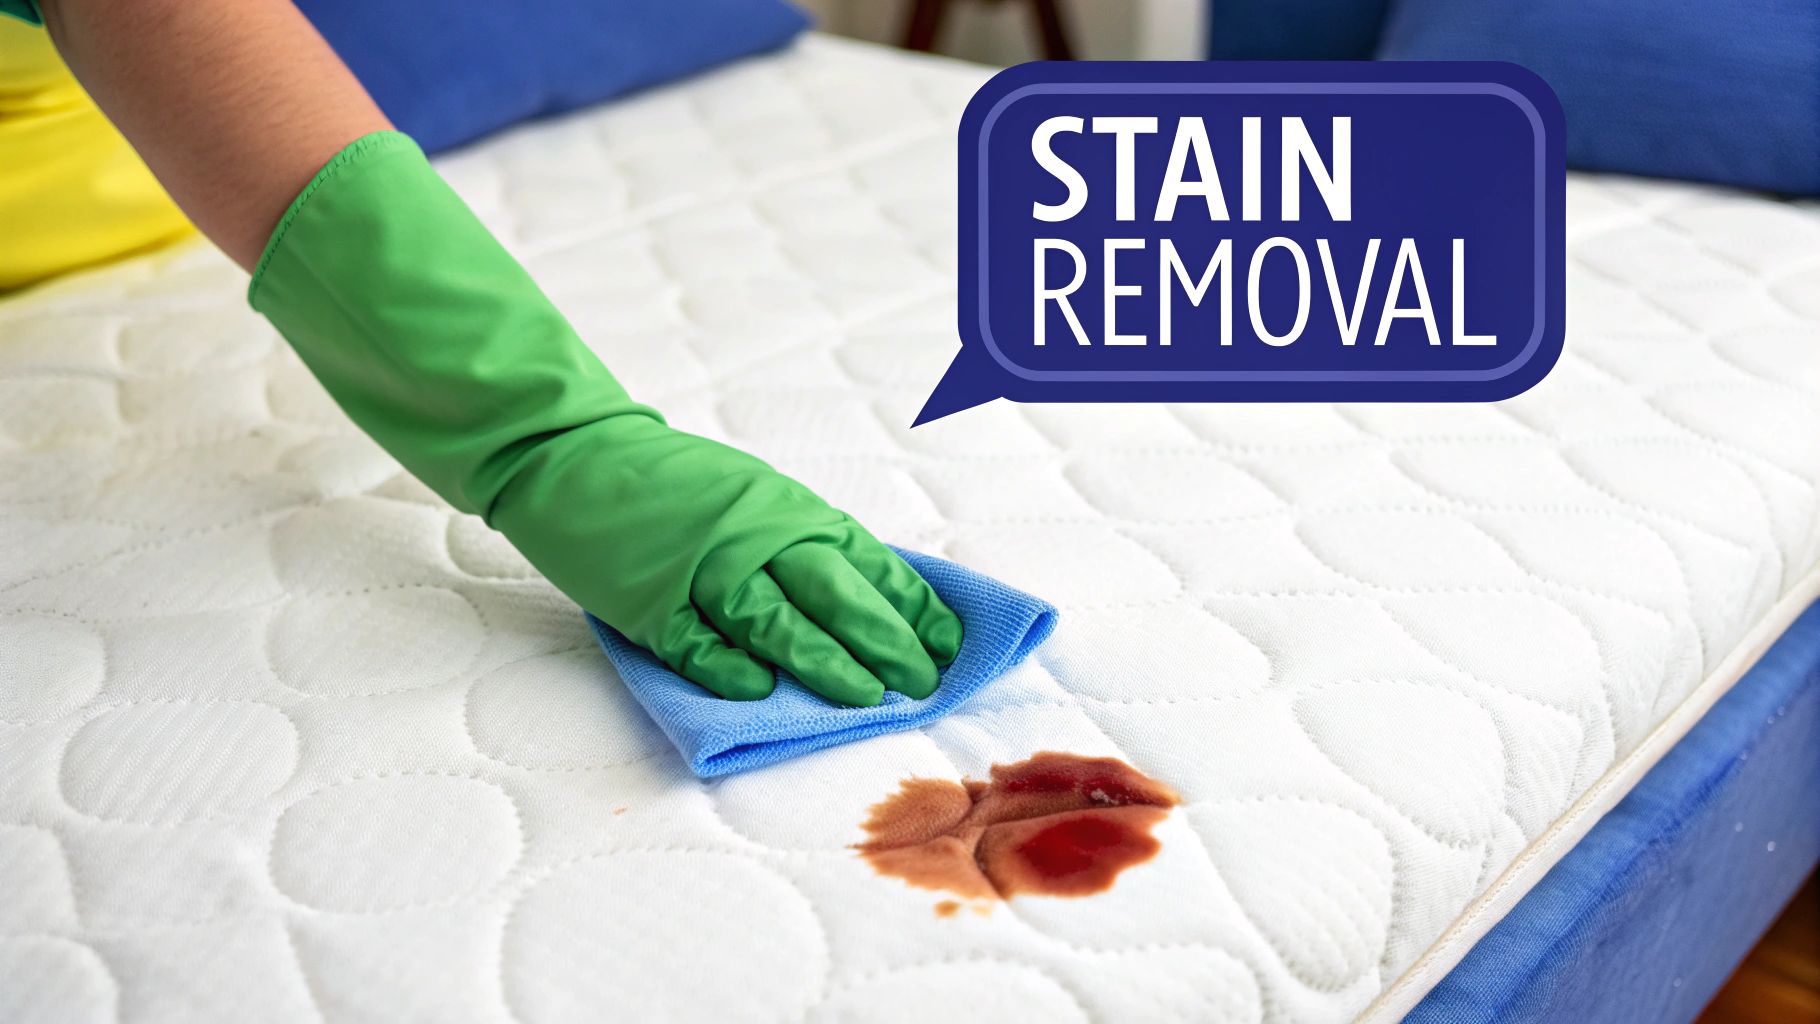
This image shows the perfect blotting technique.
See how the cloth is pressed flat against the mattress? That’s exactly what you want to do. It soaks up the liquid without any harsh rubbing that could damage the foam underneath. After you’ve blotted and treated the spot, sprinkle a thick layer of bicarb soda over the damp area. It’s brilliant for drawing out any leftover moisture and helps to neutralise odours as the mattress dries.
Deep Cleaning Methods That Actually Work

Once you’ve dealt with any fresh spills, it’s time to roll up your sleeves for a deep clean. This is how you tackle the built-up grime, sweat, and allergens that inevitably find their way into your mattress over months and years. The idea is to give your bed a complete refresh, getting rid of embedded dirt and neutralising any lingering odours without damaging the memory foam itself.
The Right Way to Vacuum
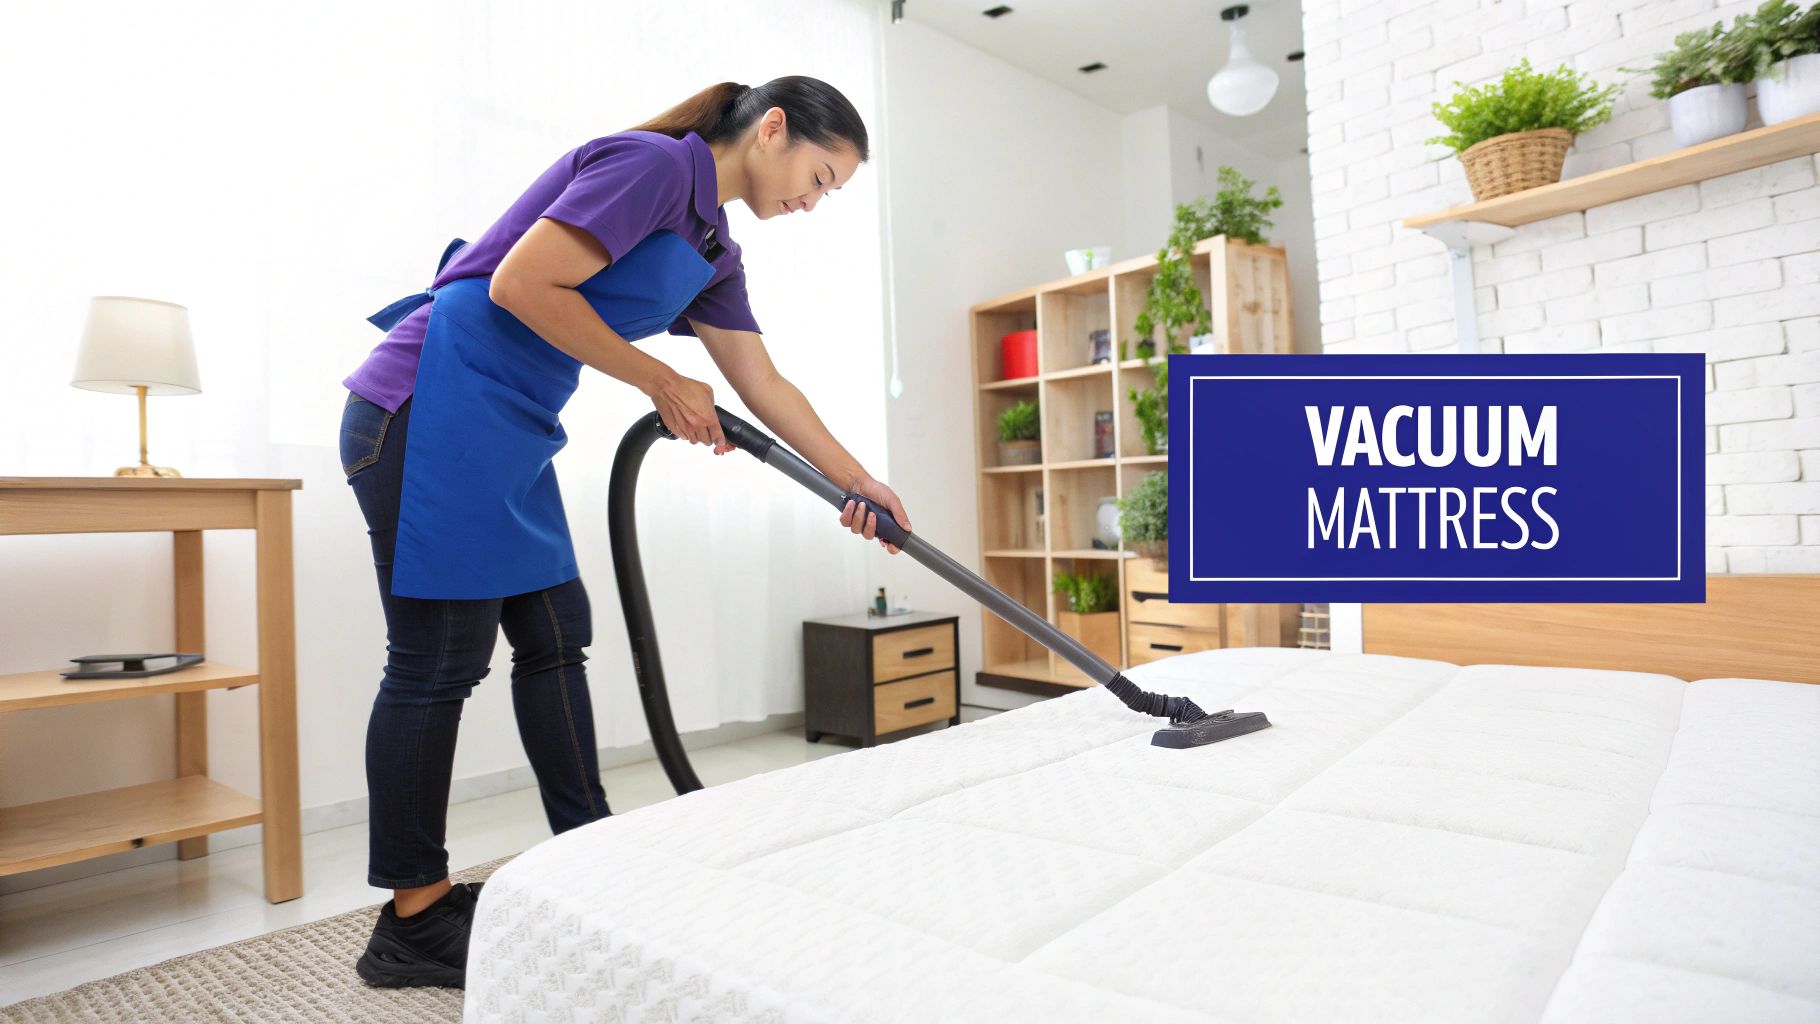
The first real job is a proper vacuum. Most of us just give the mattress a quick once-over, but to really understand how to clean memory foam mattress effectively, you have to be more methodical. Grab the upholstery attachment for your vacuum cleaner and work across the entire surface in slow, overlapping rows. Make sure you pay extra attention to the seams and edges, as this is where dust mites and dead skin cells love to gather. Then, switch to the crevice tool to get right into those tight spots. This detailed approach pulls out far more debris than a quick pass ever could.
Homemade Cleaners vs. Store-Bought Solutions
With the loose debris gone, you can start on the surface cleaning. You’ll find plenty of mattress cleaners on the shelf, but I’ve found that a simple homemade solution is often just as good, and it’s much gentler on the delicate foam.
- For General Cleaning: Mix one part white vinegar with two parts water in a spray bottle. Lightly mist the surface of the mattress—the key word here is mist, don’t soak it! Let it sit for about 10 minutes to work its magic.
- For Stubborn Stains: Make a paste using baking soda and a little water. Apply it directly onto the stain, leave it for at least 30 minutes until it’s completely dry, and then vacuum it up thoroughly.
For serious biological stains, an enzyme cleaner is your best bet, but for everyday freshness, these pantry staples do a fantastic job. It’s interesting to see that Australian consumer data reflects this preference for milder options. In 2023, over 60% of mattress buyers also opted for models with removable covers for easier cleaning. Remember, harsh chemicals can break down the foam’s structure over time, so sticking to gentle, water-based solutions is the smartest long-term strategy. You can discover more about mattress-friendly cleaning agents from Ecosa.com.au.
The Art of Spot Cleaning
When you focus on cleaning just one stubborn spot, you often create a “clean patch” that stands out and makes the rest of the mattress look dirty. To avoid this, always feather out your cleaning. After treating the main stain, lightly mist the surrounding area with your vinegar and water solution and gently blot it with a clean, dry cloth. This helps blend the treated area into the rest of the surface for a much more uniform finish. It’s a professional touch that makes a huge difference. For more handy tips, our guide on how to clean a mattress has plenty of other useful advice.
Mastering the Drying Process Without Creating Mould

After all your hard work cleaning, this next stage is where a small misstep can lead to a huge problem. Getting the drying process right truly determines whether your mattress cleaning was a success. If not done correctly, you can end up with mould and mildew, creating a musty-smelling, unhealthy situation that’s far worse than the original stain.
The tricky thing about memory foam is that it can feel dry on the surface while still secretly holding onto moisture deep within its dense structure. This is where most people go wrong.
Creating Optimal Airflow
Your greatest ally in drying your mattress is air circulation. Never just lay the mattress flat on the bed base to dry. The best approach is to stand it upright, leaning it against a wall so that air can flow freely around both sides.
If you can, place it near an open window on a dry, breezy day. For those humid days common in many parts of Australia, or if you need to speed things up, a fan can be a real lifesaver. Point it directly at the mattress to keep the air moving constantly. A dehumidifier running in the room is also incredibly effective, as it actively pulls moisture from both the air and the mattress itself.
Indoor vs. Outdoor Drying
While a sunny day might seem like the perfect opportunity to dry your mattress outside, direct sunlight can be too harsh. The UV rays can actually degrade and discolour the foam, making it brittle over time. If you do take it outside, a shady, well-ventilated spot on a verandah or covered patio is a much safer option.
Keep in mind, though, that unexpected weather changes can happen. A sudden downpour can undo all your hard work in an instant. For this reason, drying indoors where you can control the environment is often the most reliable choice.
Realistic Drying Times
Patience is absolutely key here. A thicker, high-density memory foam mattress can easily take 24 hours or even longer to dry completely. Don’t be tempted to put your bedding back on too soon, no matter how much you want to.
To check if it’s truly dry, press down firmly on the cleaned area with a clean, dry paper towel. If it picks up any moisture at all, give it more time. If you start to notice a musty odour developing during the drying process, that’s a red flag for trapped moisture. You’ll need to act fast. For specific advice on tackling this, check out our guide on mattress mould cleaning. Getting this stage right ensures your bed is not just clean on the surface, but genuinely healthy all the way through.
Building a Maintenance Routine That Actually Fits Your Life
The secret to a consistently fresh bed isn’t spending your whole weekend on a massive deep clean. It’s about weaving small, smart habits into your life. Creating a practical maintenance routine is the best way to manage how you clean your memory foam mattress, preventing big problems before they even start. This is especially true for busy Australian lifestyles where time is precious.
Your Simple Weekly and Seasonal Plan
Let’s focus on prevention. Small, consistent actions dramatically cut down your future workload. Think of it as tidying the kitchen as you cook versus facing a mountain of dishes later.
- Weekly Check-in: Once a week, when you change your sheets, give the mattress surface a quick vacuum with an upholstery attachment. This five-minute job removes the fresh layer of dust, pet dander, and skin cells before they get a chance to work their way deep into the foam.
- Seasonal Refresh: Every three to six months, perform a more thorough clean using the deep cleaning methods we’ve discussed. This is your chance to deodorise with baking soda and tackle any minor spots that have appeared, keeping your sleep surface truly pristine.
This simple schedule keeps your mattress in top condition. Neglected mattresses are a paradise for dust mites, a major trigger for allergies that is amplified by Australia’s warm, humid climate. In fact, some surveys of Australian homes have found that a mattress can harbour up to 10,000 dust mites per gram of dust. A simple weekly vacuum and rotating your mattress every three months can make a huge difference in keeping these unwelcome guests at bay. You can learn more about these shocking mattress findings and see how proper care makes a difference.
Smart Prevention: More Than Just Cleaning
Beyond active cleaning, a few daily habits can make a world of difference. The most powerful tool in your arsenal is a high-quality, waterproof mattress protector. This isn’t a marketing gimmick; it’s a non-negotiable shield that stops spills, sweat, and oils from ever reaching the foam. Choose one that is also breathable to avoid trapping heat and creating an uncomfortable, sweaty sleep environment.
Additionally, rotating your mattress head-to-foot every three to four months is crucial. This ensures even wear and prevents permanent body impressions from forming, which can extend its comfortable lifespan. Remember, most modern memory foam mattresses are designed with a specific top comfort layer, so they should only be rotated, not flipped over.
To help you stay on track, here’s a detailed schedule you can follow throughout the year. It breaks down all the key tasks, making it easy to see what needs doing and when.
| Task | Frequency | Time Required | Season | Priority Level |
|---|---|---|---|---|
| Vacuum Mattress | Weekly | 5-10 minutes | All Year | High |
| Rotate Mattress | Every 3-4 months | 5 minutes | Autumn, Winter, Spring, Summer | High |
| Deep Clean | Every 6 months | 2-3 hours | Autumn & Spring | High |
| Deodorise | Every 3-6 months | 1-2 hours | Winter & Summer | Medium |
| Spot Clean Spills | As needed | 15-30 minutes | All Year | Critical |
| Wash Protector | Every 2-4 weeks | 5 minutes (plus wash time) | All Year | High |
| Airing Out | Every 1-2 months | 2-4 hours | All Year (sunny days) | Medium |
This maintenance plan ensures that no task becomes overwhelming and your mattress receives consistent care, prolonging its life and keeping your sleeping space hygienic.
The following infographic highlights the key ratios and timings for a typical spot-cleaning session.

This visual guide reinforces that successful cleaning relies on a weak solution, short soak time, and a significant drying period. Getting these right is the key to removing a stain without causing further damage.
Key Takeaways for Long-Term Mattress Success
Keeping your memory foam mattress in top shape really comes down to a few simple rules I’ve learned over the years: jump on spills quickly, always be gentle, and have patience while it dries. Stick to these, and you’ll have a comfortable, supportive bed for a long, long time.
The Most Common (and Costly) Mistakes
I’ve seen many well-intentioned owners accidentally ruin their mattresses. The road to a ruined bed is paved with good intentions, so please try to avoid these common slip-ups:
- Using Too Much Liquid: This is the absolute number one mistake. When you drench the foam, moisture gets trapped deep inside. This creates the perfect, cosy home for mould and mildew, which leads to permanent damage and smells you just can’t get rid of.
- Scrubbing Vigorously: I get it, the instinct is to scrub a stain into oblivion. But with memory foam, aggressive scrubbing just shoves the spill deeper and can actually tear the delicate foam structure. Your mantra should be: blot, don’t scrub.
- Applying Direct Heat: Whatever you do, don’t grab a hairdryer or point a heater at the wet spot. Trying to speed up drying with high heat will make the foam brittle and break it down, destroying those lovely contouring properties forever.
Your Emergency Cleaning Checklist
Accidents happen, it’s just a part of life. When that glass of wine or cup of coffee takes a tumble, don’t panic. Just run through this quick checklist:
- Strip the Bedding Immediately: Get those wet sheets, doonas, and protectors off the mattress straight away to stop any more liquid from soaking in.
- Blot, Don’t Rub: Grab some clean, dry cloths or paper towels and press down firmly to soak up as much of the spill as you can. Keep at it with fresh towels until they come away dry.
- Use a Mild Solution: For most everyday spills, a simple 50/50 mix of white vinegar and water works wonders. Lightly mist it over the affected area – don’t soak it.
- Blot Again: With a new, clean cloth, blot the area to lift the cleaning solution and the last of the spill.
- Deodorise and Dry: Sprinkle a generous layer of bicarb soda over the entire damp patch. Leave it for several hours (or even overnight) to work its magic, absorbing moisture and odours, then vacuum it all up thoroughly.
Knowing how to clean a memory foam mattress is great, but sometimes a stain or odour is just too stubborn for home remedies. If you’ve tried everything and the problem won’t budge, or if you’re dealing with a more serious biological spill, it’s time to call in the professionals.
For those deep-set stains and odours in Melbourne that just refuse to leave, don’t risk damaging your investment. The team at Mattress Cleaning Melbourne has the specialised equipment and eco-friendly solutions to safely sanitise and restore your bed. Get a free quote today and make sure your mattress is truly, deeply clean.
Article created using Outrank
